Your First Automation (Tutorial)
Create your first AI-powered browser automation in Donobu Studio — from entering a URL and objective to reviewing step-by-step results.
In this tutorial, you'll create your first automation flow in Donobu Studio. You'll tell the AI what to do in plain English, watch it navigate a website, and review the results.
Prerequisites
- Donobu Studio installed and running (download)
- At least one LLM provider key configured in Studio settings
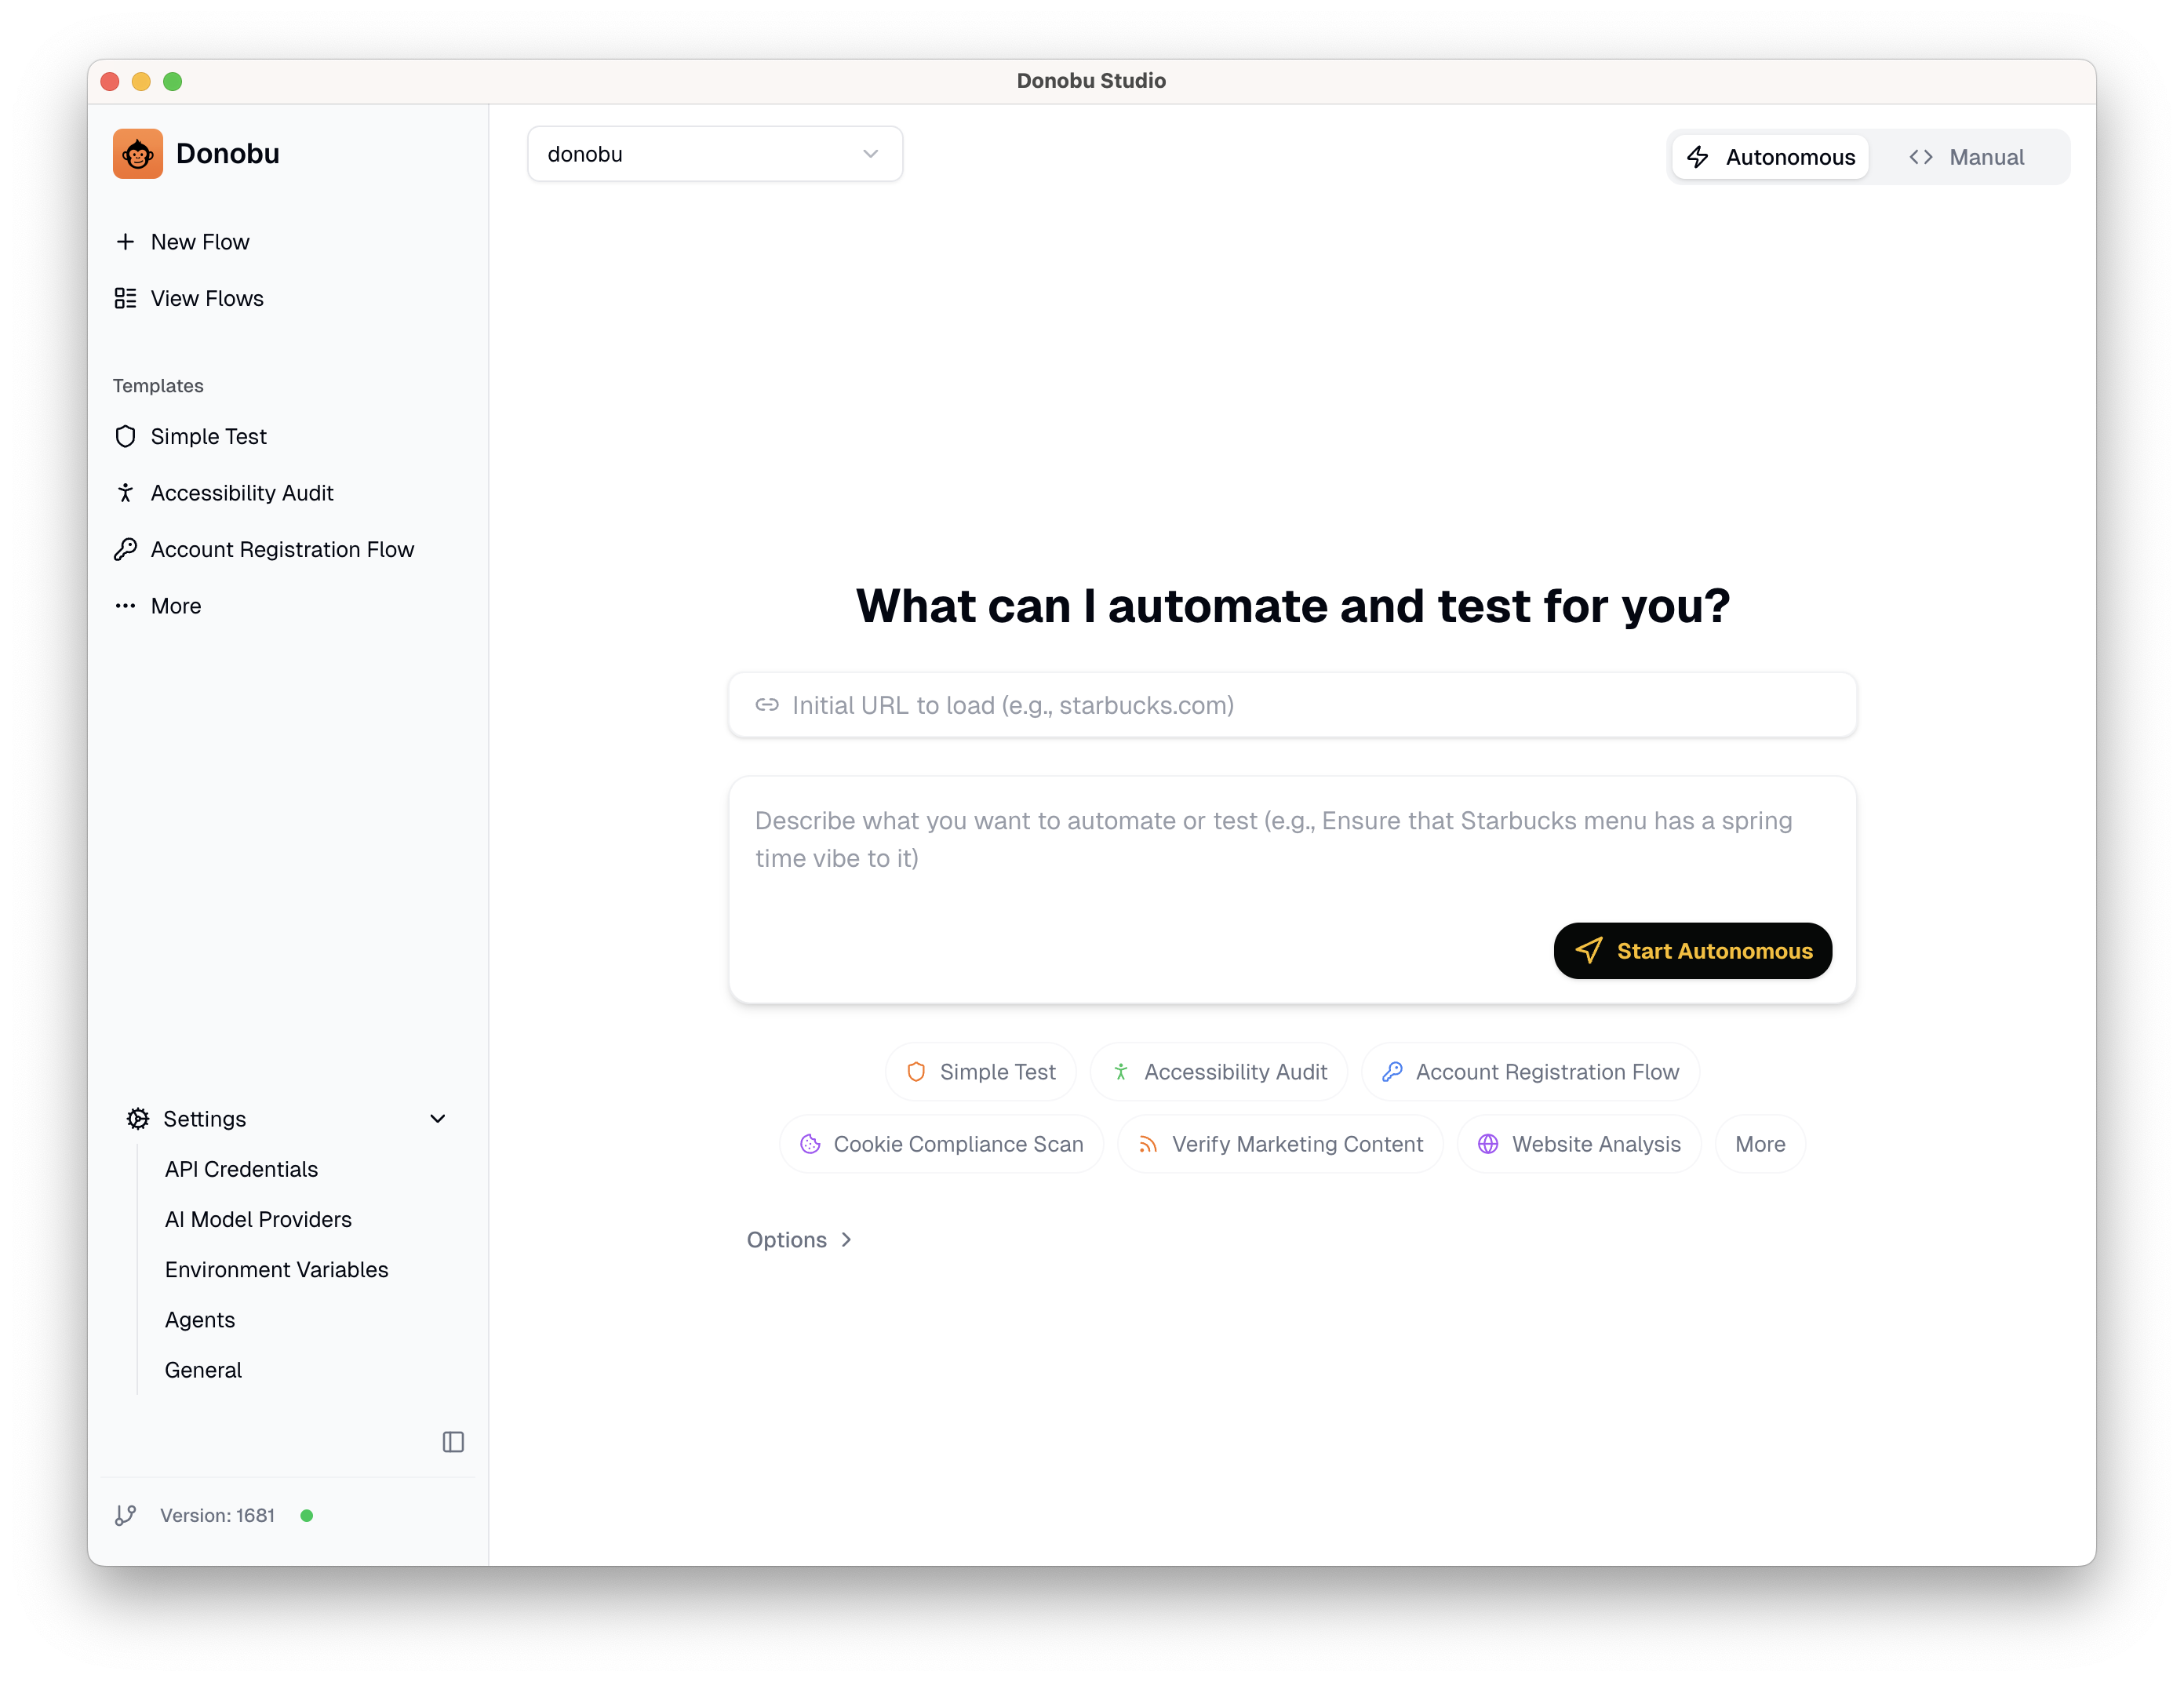
Step 1: Open Studio and start a new flow
Launch the Donobu Studio application. You'll see the main screen with the flow creation area.
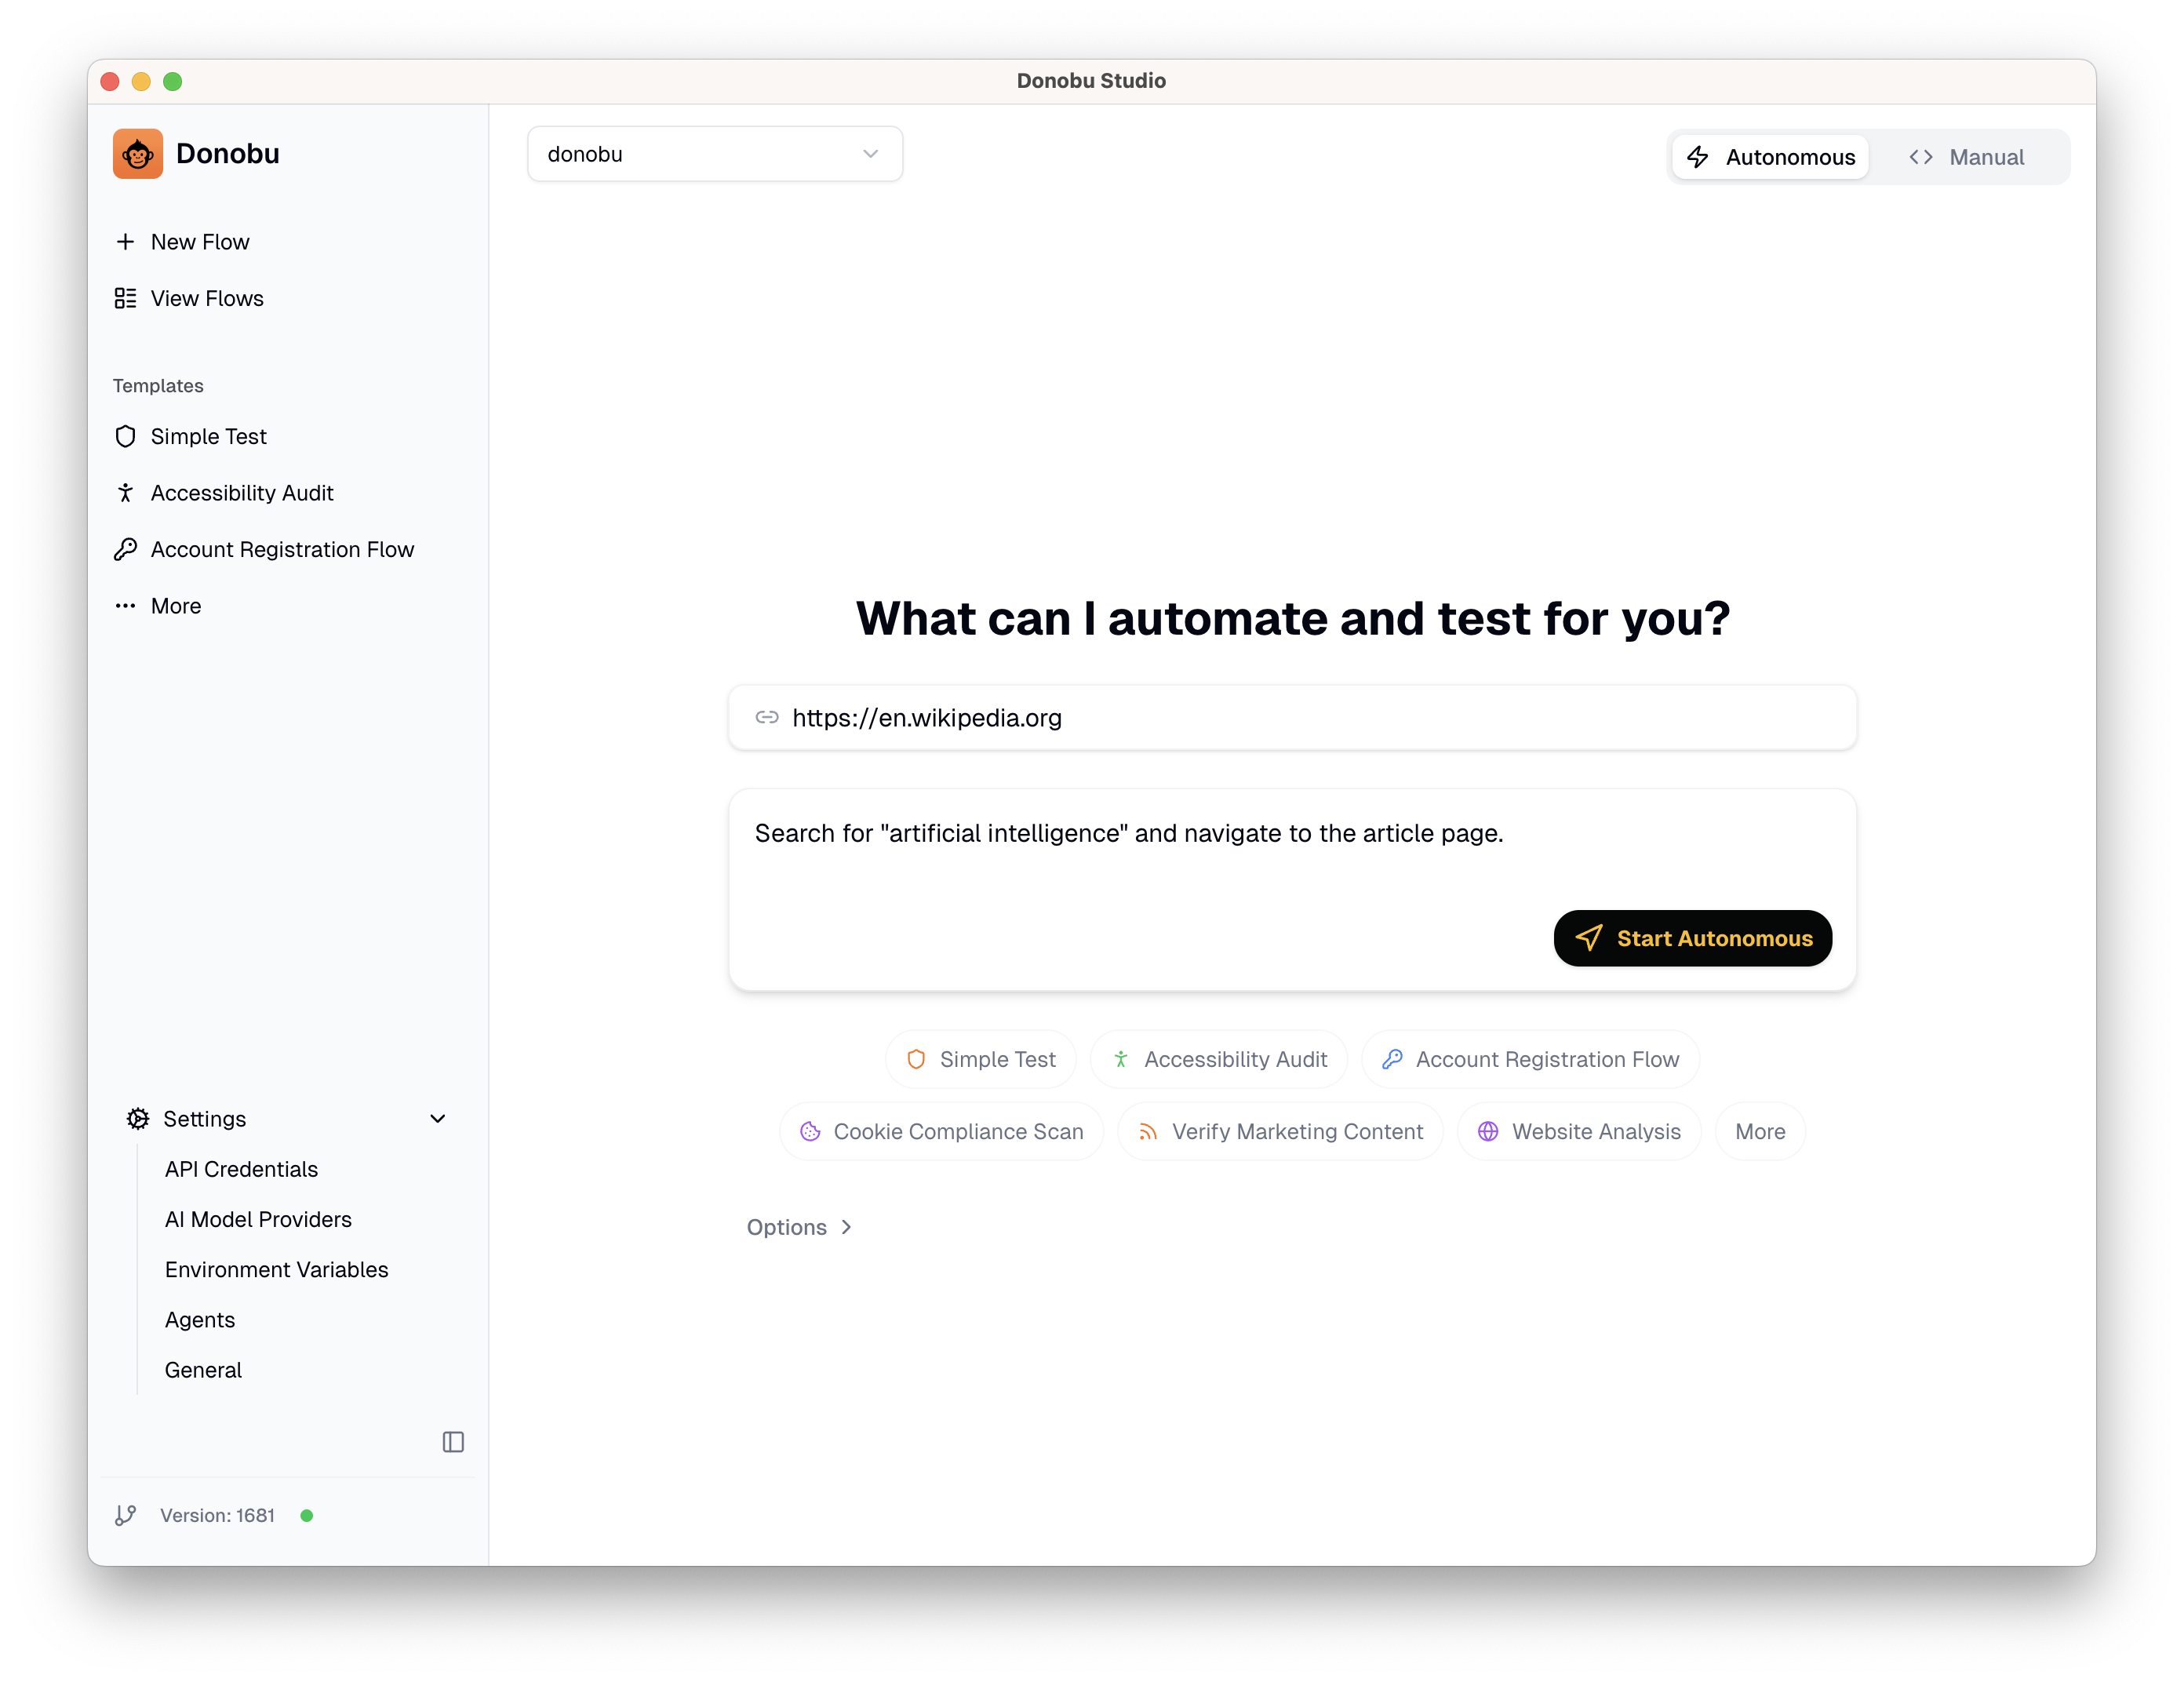
Step 2: Enter a website and objective
- In the URL field, enter the website you want to automate. For this tutorial, try a public site like
https://en.wikipedia.org. - In the Objective field, describe what you want Donobu to do. For example:
Search for "artificial intelligence" and navigate to the article page.
- Leave the other settings at their defaults for now.
Step 3: Submit and watch Flow Pilot work
Click Submit. Donobu will:
- Open a browser window
- Navigate to the website
- Use Flow Pilot (the AI agent) to figure out the best sequence of actions
- Execute each action — searching, clicking, typing — to achieve your objective
- Capture a screenshot after each action
You can watch the flow execute in real time. If something goes wrong, you can cancel the flow at any time by clicking the Stop button.
<!-- [SCREENSHOT: Donobu Studio showing a flow in progress with the browser visible and actions appearing in the timeline] -->
Step 4: Review the results
Once the flow completes, you'll see the results in Studio:
- Click on the flow in the flow list to open its detail view.
- The title bar of the screen shows overall flow information: name, AI agent, run mode (Autonomous for this first run), number of actions, and status (Success in this case).
- Under that, you'll see some additional information: the objective, ID, runtime, and token usage.
- If video recording is enabled, you can play back the full session.
- The Timeline shows every action Flow Pilot took, with thumbnail, description, and duration for each.
- Click on the thumbnail in any step to see the screenshot captured at that point.
<!-- [SCREENSHOT: Flow detail view showing the completed timeline with screenshots] -->
Step 5: Try rerunning the flow
Now that you have a successful flow, you can Rerun it. A rerun replays the exact same actions without using the AI, making it fast and free.
- Open the flow's detail view.
- Click the Execute button.
- Watch the flow execute the same steps — this time in Deterministic mode.
This is the basis of regression testing in Studio: run a flow once with AI, then rerun it as many times as you need.
What to try next
- Change the objective to something more complex, like "Search for artificial intelligence, then navigate to the History section of the article."
- Try a different website — any public site will work.
- Export the flow as code — on the Code tab, click the Download button to generate an executable Playwright script from the flow. For more information on writing and executing Donobu-powered Playwright tests, see the documentation and tutorials for the Donobu Playwright Extension.
- Follow the Form Automation tutorial to learn about environment variables and data validation.